
Connecting to a Proxy Server in Mulogin
1. Creating a Proxy Server Address in ASocks
Open the ASocks web-page and enter your account using a sign in form. If you do not have an account on ASocks, create one and use it for entering the service. Press the Get started button.
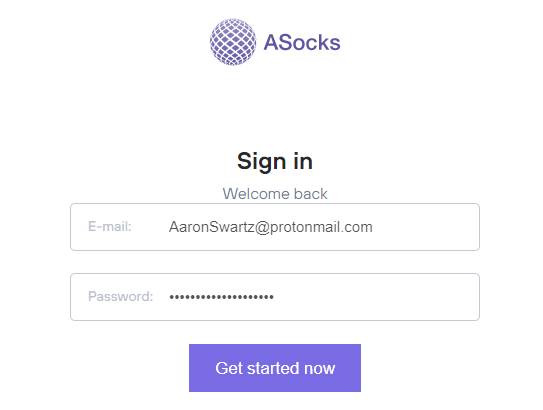
Note: the HTTP and Socks5 protocols are only supported.
Once you have entered your account, check the balance. It should be positive to get a connection: the minimum balance should not be lower than 0,5 USD. However, for a stable and reliable connection a user may refill the balance by clicking the Balance tab on the left-side menu, and by pressing the Top up button.
If required, enter the desired amount to pay, press the Continue button and follow the instructions on the screen. The minimum accepted amount of payment should not be less than 3 (three) USD.

Go to the Generate Proxy port tab on the left-side menu and click it. The corresponding window should open. Choose the preferred country, and optionally you may select the state and city from the drop-down lists. ASN is an optional parameter as well, and is used by the advanced users for receiving a proxy from the preferred autonomous system.
Select Proxy settings by setting a checkbox for the preferred option:
- Keep proxy (default option) - the option is used when the proxy server operates until the connection is lost due to the death of the proxy server and/or IP-address. In case of disconnection, the system should automatically restore the connection, but it usually takes time.
- Keep connection - the option provides immediate reconnection which is almost invisible for a user in case of connection loss and/or a proxy server death. The system automatically replaces the dead proxy server with an alive one by choosing it from the list of available proxies.
A user can choose any of the options. For the advanced users having a high demand in a stable connection, the keep connection option is recommended.

Choose the Authorization method:
- Password authorization (default option) - this option allows a user’s authorization on any IP-address by using the generated password.
- Whitelist with password - the option requires addition of a user’s IP-address into ASocks whitelist, and it allows connection to a proxy server by using the generated password.
- Whitelist or password - the option requires addition of a user’s IP-address into ASocks whitelist, and it allows choosing the connection method: either by whitelist or by the generated password
- Whitelist authorization - the option requires addition of a user’s IP-address into ASocks whitelist, and the authorization is performed by entering the generated password into the browser settings.
Note: to get included into the ASocks whitelist, it is required to save a user’s actual IP-address on the ASocks service settings. Open the Whitelist tab located on the left-side menu, and the IP Whitelist window should appear.

The current IP-address should be automatically displayed in a corresponding box. A user may give a name of the IP-address by completing the description box, but this feature is optional.
Note: if an IP-address has not been automatically detected by the system, check your public IP via one of the web-services, such as https://www.whatismyip.com, and enter the data into the IP box.
Press the Add button, so the IP should be automatically included in the ASocks whitelist and displayed in the list.
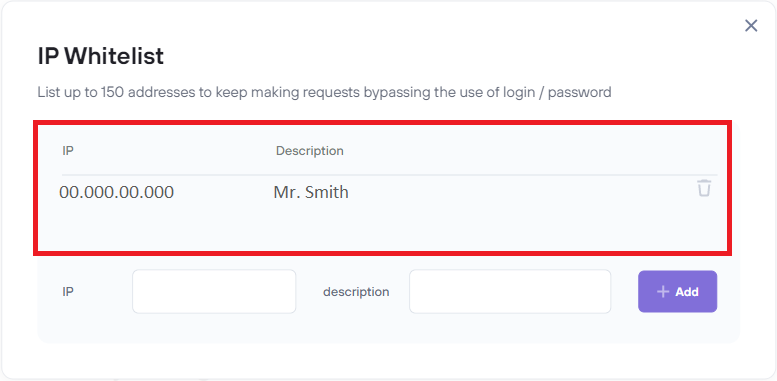
Once the user’s IP has appeared in the ASocks whitelist, authorization methods using the Whitelist option are available.
A user can choose the most suitable authorization option by clicking it.
Once all the required parameters have been set up, click the Create ip:port button, and the dialog window containing the IP-address and login should open. The proxy password is not available only for the Whitelist Authorization option.
Copy the generated data and enter it into the corresponding boxes (IP-address and IP-port) of the browser settings that you are currently using.

2. Connecting to a Proxy Server in MuLogin
Go to the MuLogin anti-detect browser, and enter your account by pressing the Login button. If you do not have an account on MuLogin yet, create an account by clicking the Sign up button and completing the registration form.
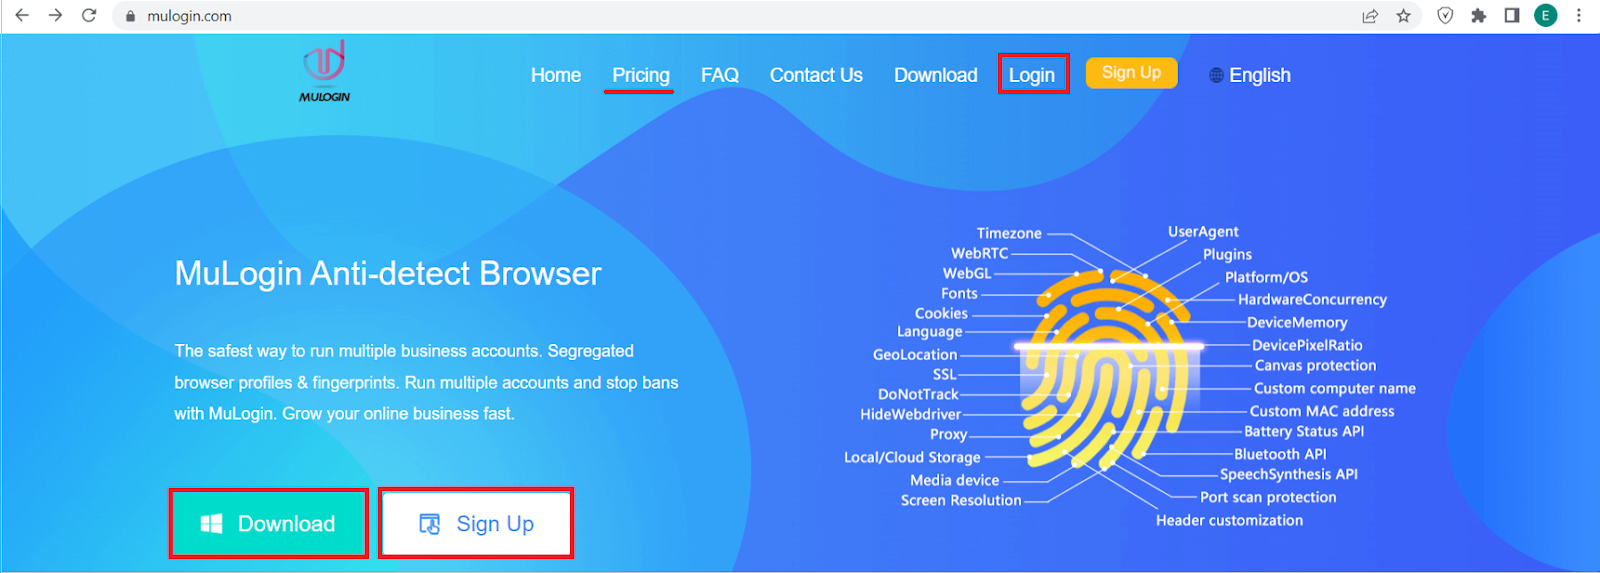
Open your account details, select the preferred tariff plan and make a payment. Download the application matching your OS and install it onto your PC by running the .exe file and by following the on-screen instructions.
Open the installed application and login the account using the credentials entered during registration at the web-service. On the left-side menu, expand the Browser Manage section and open the Browser list tab from the drop-down list. This section allows creating new browsers with unique fingerprints by clicking the Quick create button located at the page top.

The browsers should be automatically created and displayed in the list of browsers.
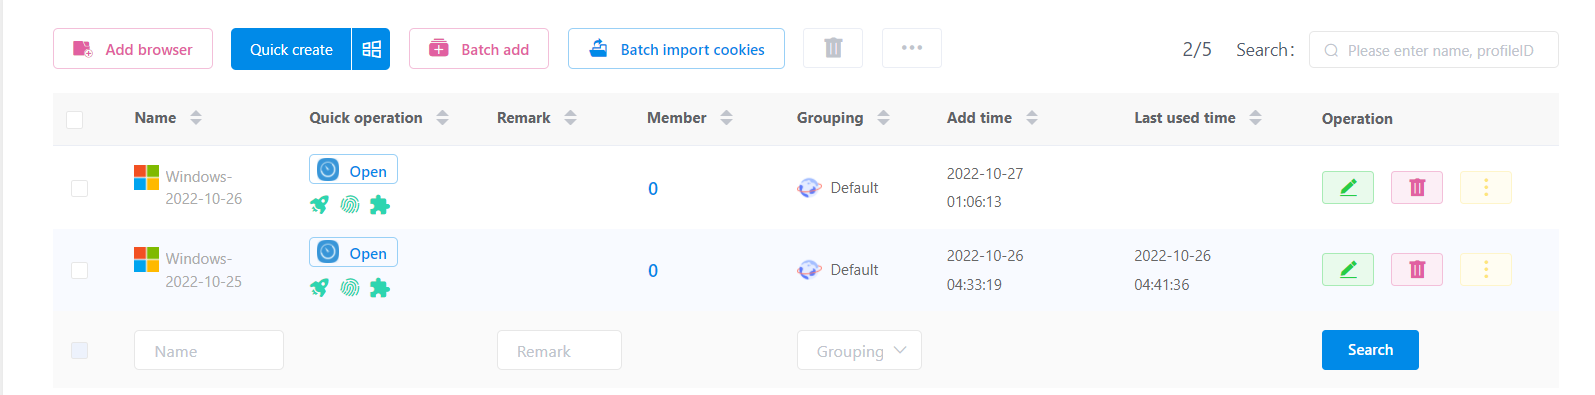
Press the Edit sign (a pencil) in the browser line that you are going to use for further proxy connection.

The Edit Browser window should open. Make sure, the Basic Configuration tab is opened. Scroll down the page until the Proxy settings section appears.

Select the type of proxy from the drop-down list and the proxy settings should expand. Enter credentials provided by the ASocks service (IP-address, Port and Login/Password if required). Check the proxy connection by clicking the Check the network button. The green signature detecting the proxy IP-address and country and confirming the connection success should appear.
Note: if the Connection failure sign is displayed, check the correctness of the entered proxy credentials and/or the proxy availability.

Save the successful results by clicking the corresponding button.
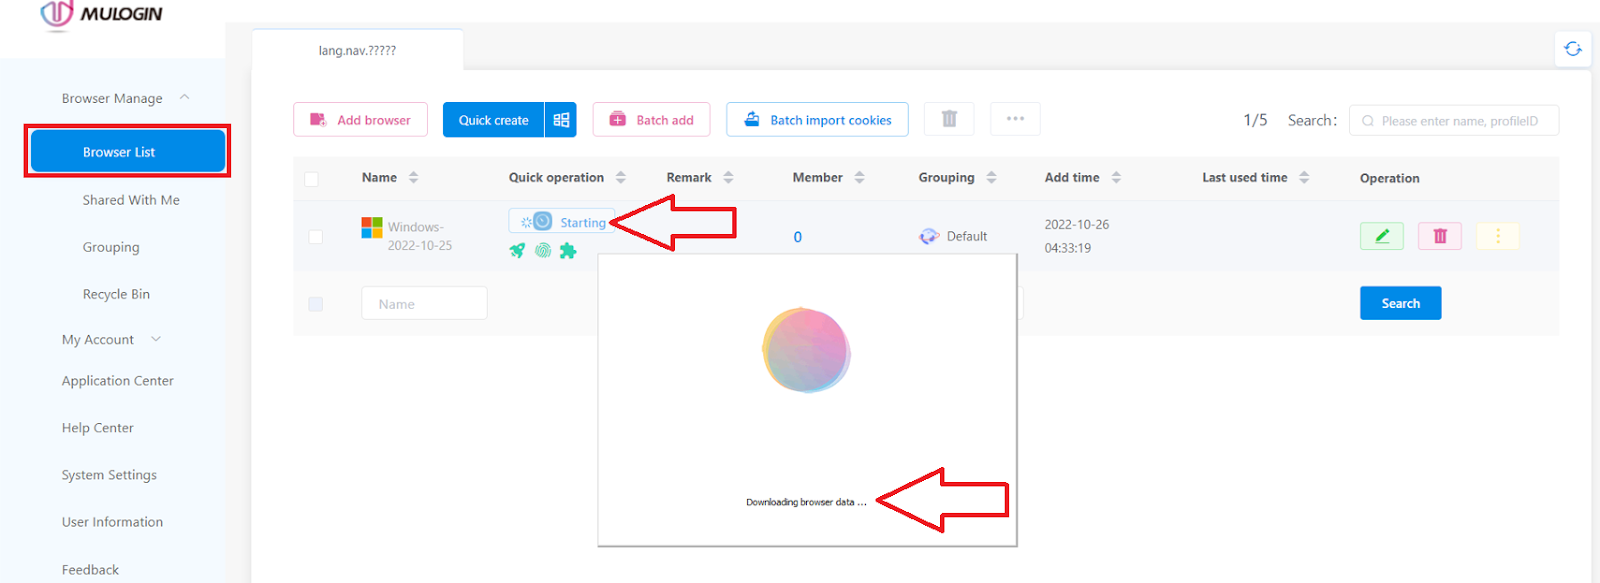
The Proxy settings dialog should automatically close and the browser list should be displayed. Click the Open button in the preferred activated browser line, and the browser downloading box should open. The Open sign converts to the Starting sign.
Once the browser window has been automatically opened, check your public IP via one of the web-services, such as https://www.whatismyip.com.
To terminate the connection, press the Close button.


